vMix preset
Productions in vMix are called "presets." They can be saved to a file, or you can recall the last preset by clicking the Last butt in the upper left-hand corner of vMix. This button is handy if vMix, for some reason, decides to crash. The Last button recalls whatever preset was open even if you didn't save it to a file.
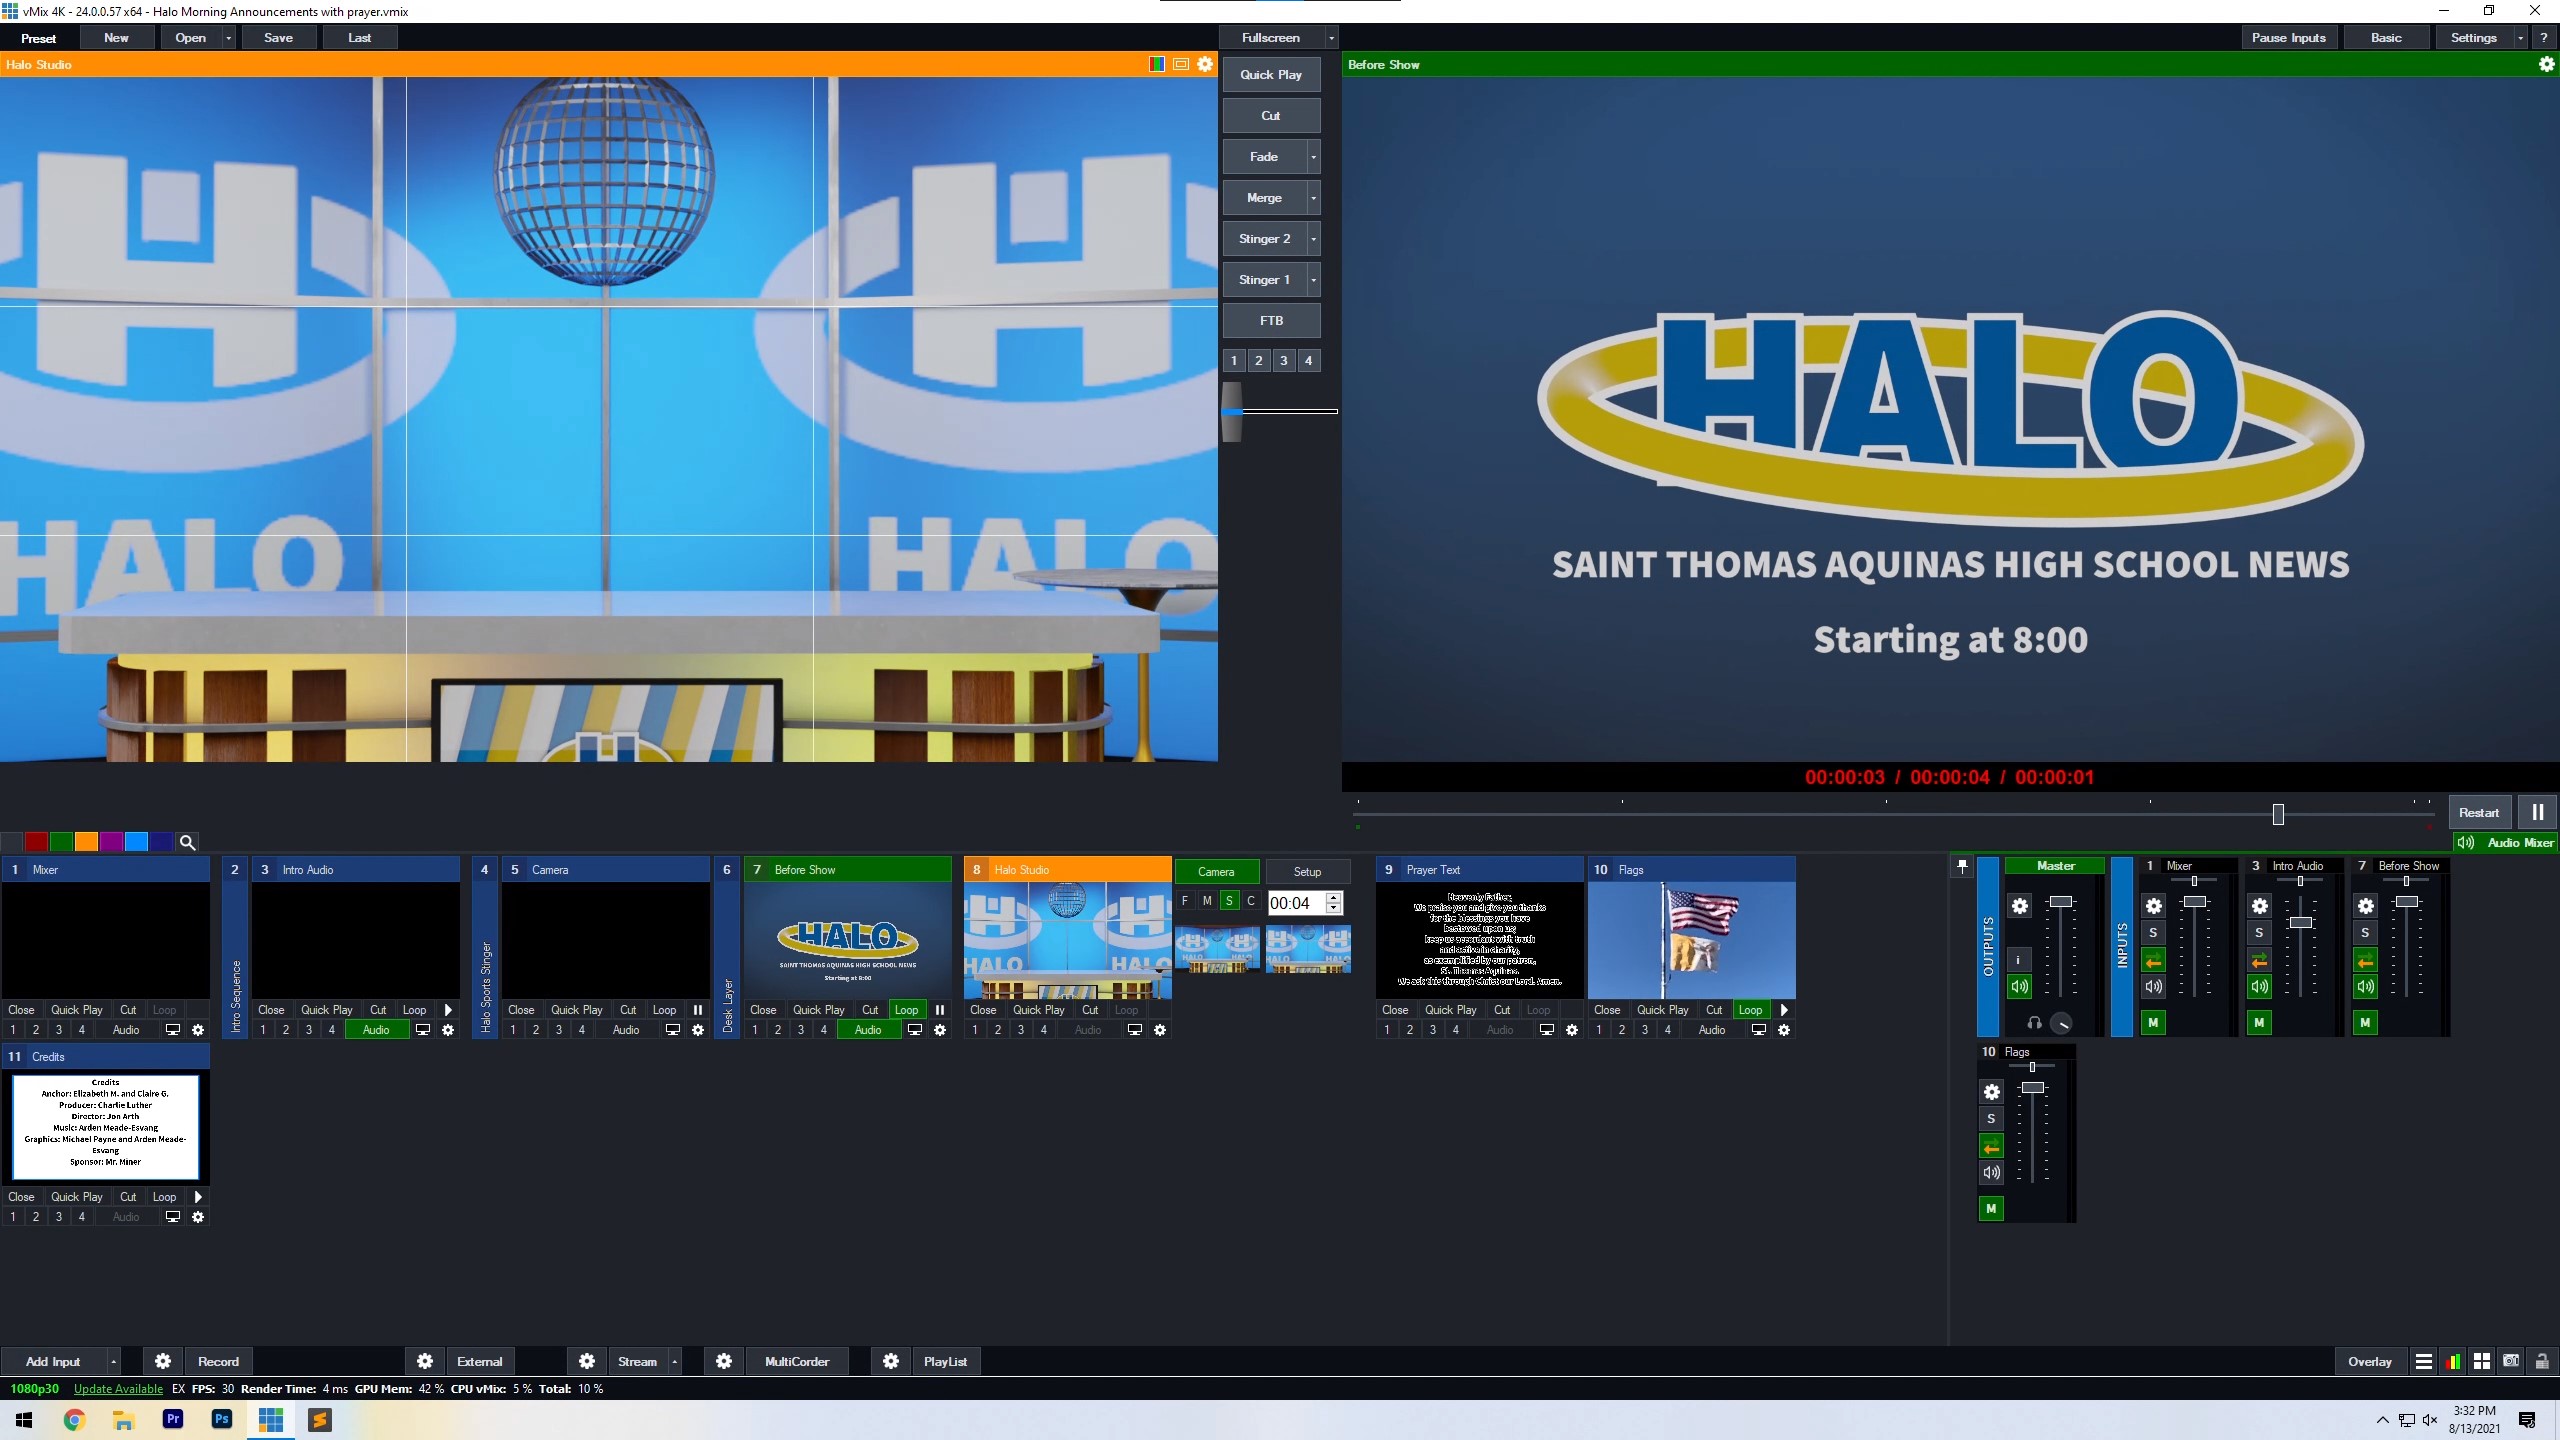
The Morning Show vMix preset consists of many different inputs. Only a few of them are actually used in the show, though. The inputs are numbered, but the numbers themselves don't actually mean anything.
We'll go through a couple of the inputs so that you can get a deeper understanding of how the show file works.
vMix "Inputs"
Inputs are just another term for sources in vMix. Many of them will contain video and audio information, but some will only contain audio, like the mixer.
1. Mixer
This input brings audio in over USB from the rack mixer. It uses generic windows sound drivers so you shouldn't have to worry about ASIO or other drivers.
2. Intro Sequence
This input is a .png sequence. It's a folder full of a bunch of pictures in C:\Users\Halo\Videos\Intro sequence\. When played, it runs through every image in that folder frame-by-frame in order to create a video with a transparent background. Very few filetypes exist that enable transparent video. vMix prefers PNGs for Stinger Transitions because they are able to display transparent backgrounds. This input plays whenever the Stinger 1 transition is used.
Here's a tutorial for creating stingers.
3. Intro Audio
Because a PNG sequence cannot hold any audio, another input is needed alongside the stinger to play audio. This input is selected in the MultiView tab under the Intro Sequence input's settings. This means that whenever the Intro Sequence is played, so will the intro audio.
5. Camera
This is the input for the Camera feed from our capture card. It has a chroma-key (green screen) enabled to remove the background from behind the anchors and place them in the virtual set. The green screen can be adjusted in the Colour Key tab of the input's settings. Clicking on the Auto Chroma Key buttons 1,2,3 will help you pull a good key without a lot of fiddling with sliders.
6. Desk Layer
This is a separate layer that loads a video from C:\Users\Halo\Downloads\desk.mov. This file is similar to the intro sequence in that it holds transparency information. .mov is are another filetype that allows for transparent, enabling it to be overlaid on top of the anchors and integrate them into the virtual set.
7. Before show
A simple looping video with our logo in it. This input isn't necessary but provides a good placeholder before the intro while streaming or recording.
8. Halo Studio
This is the main input that will be active for most of the show. It's a custom virtual set that was created a while back. It merges a background png stored on the computer with the Camera and Desk layers together. You can also adjust the camera for a wide or close-up shot using the two presets adjacent to the input.
Here's the XML for the virtual set if the file ever gets accidentally deleted:
<?xml version="1.0"?>
<virtualSet>
    <input zoom="1" y="0" x="0" name="Background">main.png</input>
    <input zoom="0.7" y="0" x="0" name="Camera" dynamic="true"/>
    <zoom zoom="1" y="0" x="0" name="Full"/>
    <zoom zoom="1.25" y="0" x="0" name="Anchors"/>
    <input zoom="1" y="0" x="0" name="Desk" dynamic="true"/>
</virtualSet>
And here are links to zip files for the virtual sets.